To edit an existing form:
1. Click
or touch the ![]() icon. this will bring up
the edit form page.
icon. this will bring up
the edit form page.
2. Update the form using the following Elements:
Elements on Edit Form Page:
Element |
Description |
 |
Add an additional page to the form. A new page will be added and all of the following functionality will be available. |
 |
Form Number |
 |
Form Name, required, used for lookup and navigation |
 |
Description of the form |
 |
Retailer/User Form
• Retailer Forms will be available on the Retailer-Forms page • User Form will be available on the Field-Forms page |
 |
Image will show up in the Form Body of the Edit form page. Users may choose to write initial form in another application, i.e., MS Word, save it as one of the accepted types and upload it as a starting point to create a form. |
 |
Print orientation,
• Unchecked - Portrait • Check - Landscape |
 |
Distribution List - The form is sent to the distribution list when a form is submitted. Additionally, a form marked Requires Approval, will invoke an email to the distribution list. |
 |
Form is sent to Regional Manager on Submit |
 |
Form requires approval and is sent to the distribution list on submit |
 |
Save or Cancel any edits made |
 |
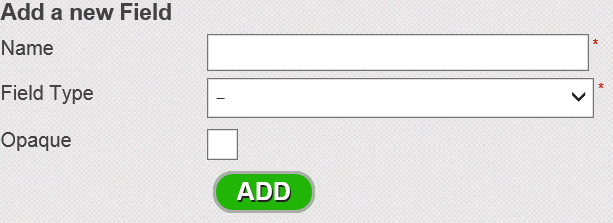
Add a new field to the form
1. Enter a name for the field 2. Choose a Field Type from the drop down A. Different options become available depending on the field type chosen. For instance, if Number type chosen, a decimal definition box appears. B. Some Field Types are automatically filled, i.e., field type = Today's Date |
 |
Table formulas are used to add formulas to Table Field Types and Calculated Field Types. |
| Form Body | The body of the form is first created using an image, and then fields are placed on the image. |
 |
Edit/Create form Navigation. |
See Also: